
Jul 8, 2019 | Construction Blogs, Featured, Geneva Park cabin, Sustainable Building & Design program
Endeavour’s Sustainable New Construction program for 2019 is working with Geneva Park, a YMCA camp, to help them create Canada’s greenest cottage community. The camp’s plan is to replace the dozens of old cottages on the site with new cabins that...

Jan 2, 2018 | Material Videos, Natural building materials and techniques, Straw bale building
Round straw bale columns Many people use small, square straw bales to make buildings, but we used the big round bales as load-bearing columns in a building! The big rounds are incredibly dense and uniform, and we lab tested them to 120,000 pounds of load! They are...

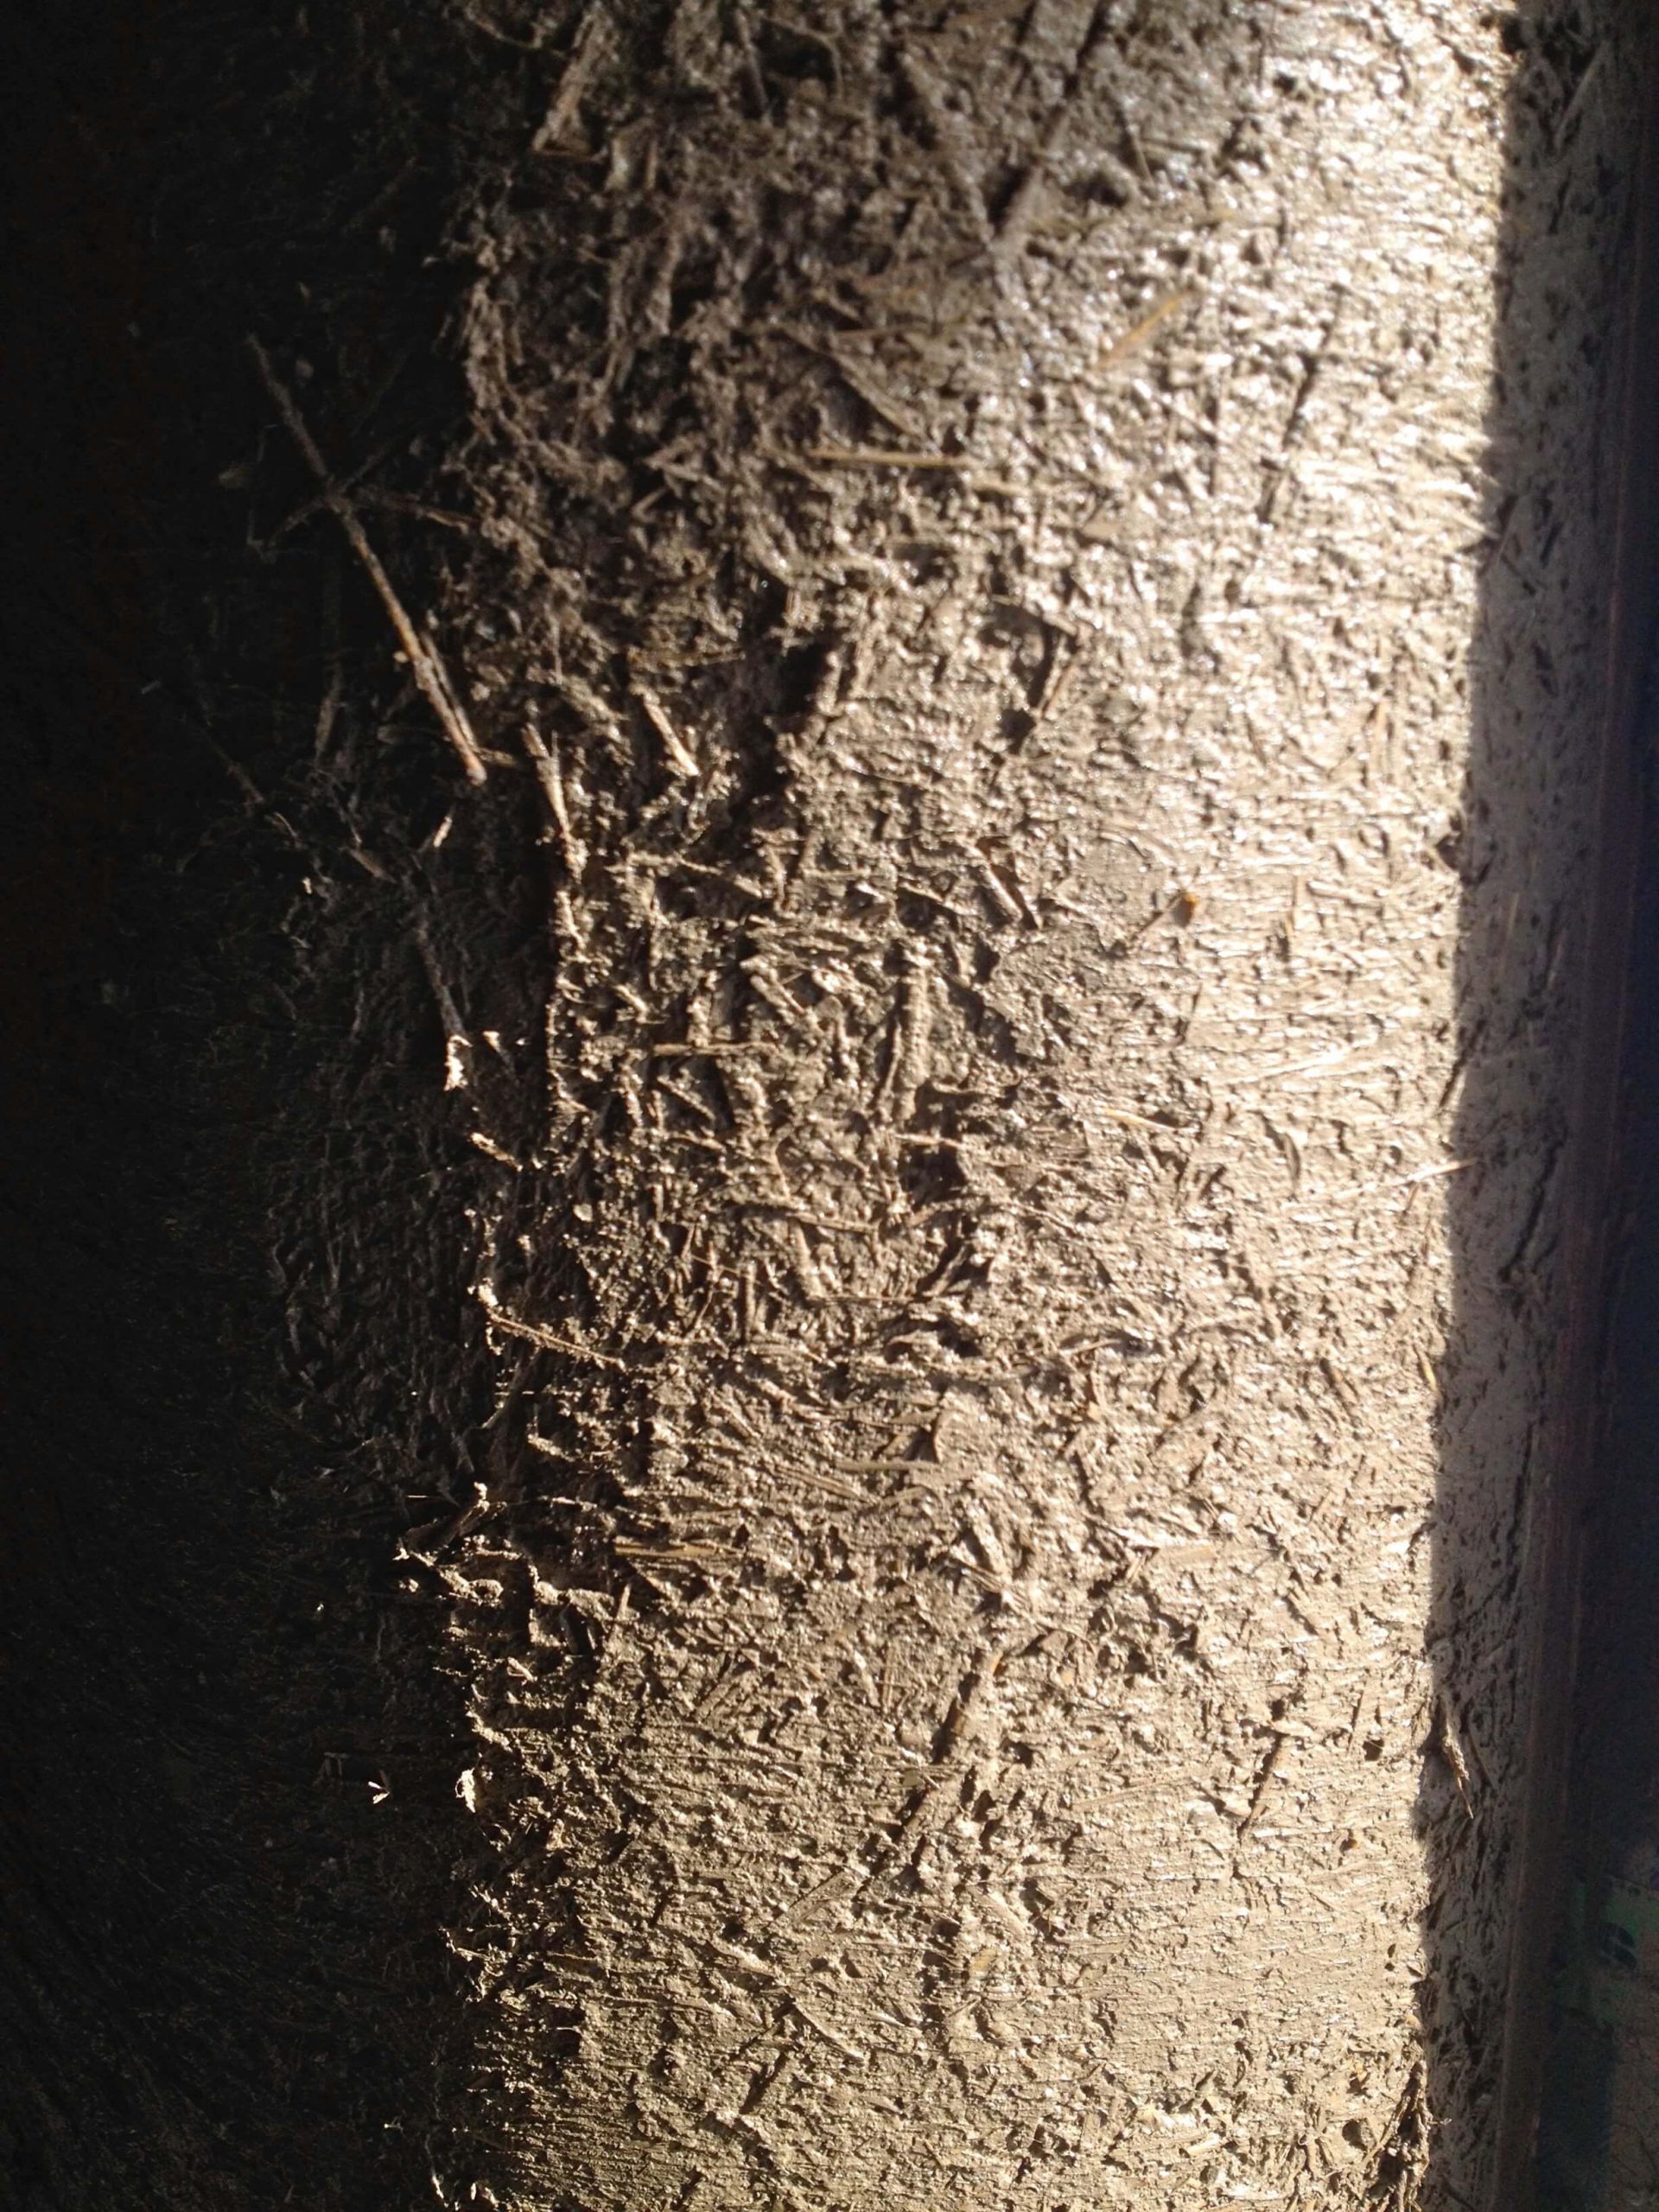
Nov 13, 2015 | Natural building materials and techniques, Natural plaster
Questions concerning the durability of clay plaster – especially as an exterior plaster, and even more especially in cold and wet northern climates – get raised any time we suggest using clay plaster to a client. We recently had the experience of returning...

Oct 25, 2014 | Construction Blogs, Straw bale building, Teachers' Union offices
Our office building project for the Trillium Lakelands Teachers’ Union features a straw bale wall system that combines conventional wood stud framing with an interior straw bale wall. Recently, we finished the exterior side of this wall system. This involved...
Sep 19, 2014 | Construction Blogs, Natural building materials and techniques, Natural plaster, Recipes, Teachers' Union offices
It’s no secret that we love clay plasters at Endeavour, and the best case scenario is being able to use a clay soil right from the building site. It just so happens that we lucked into this for the teachers’ union office project! After digging some test...