
Jul 7, 2019 | Construction Blogs, Featured, Sustainable Building & Design program, Urban Renovation accessory dwelling unit
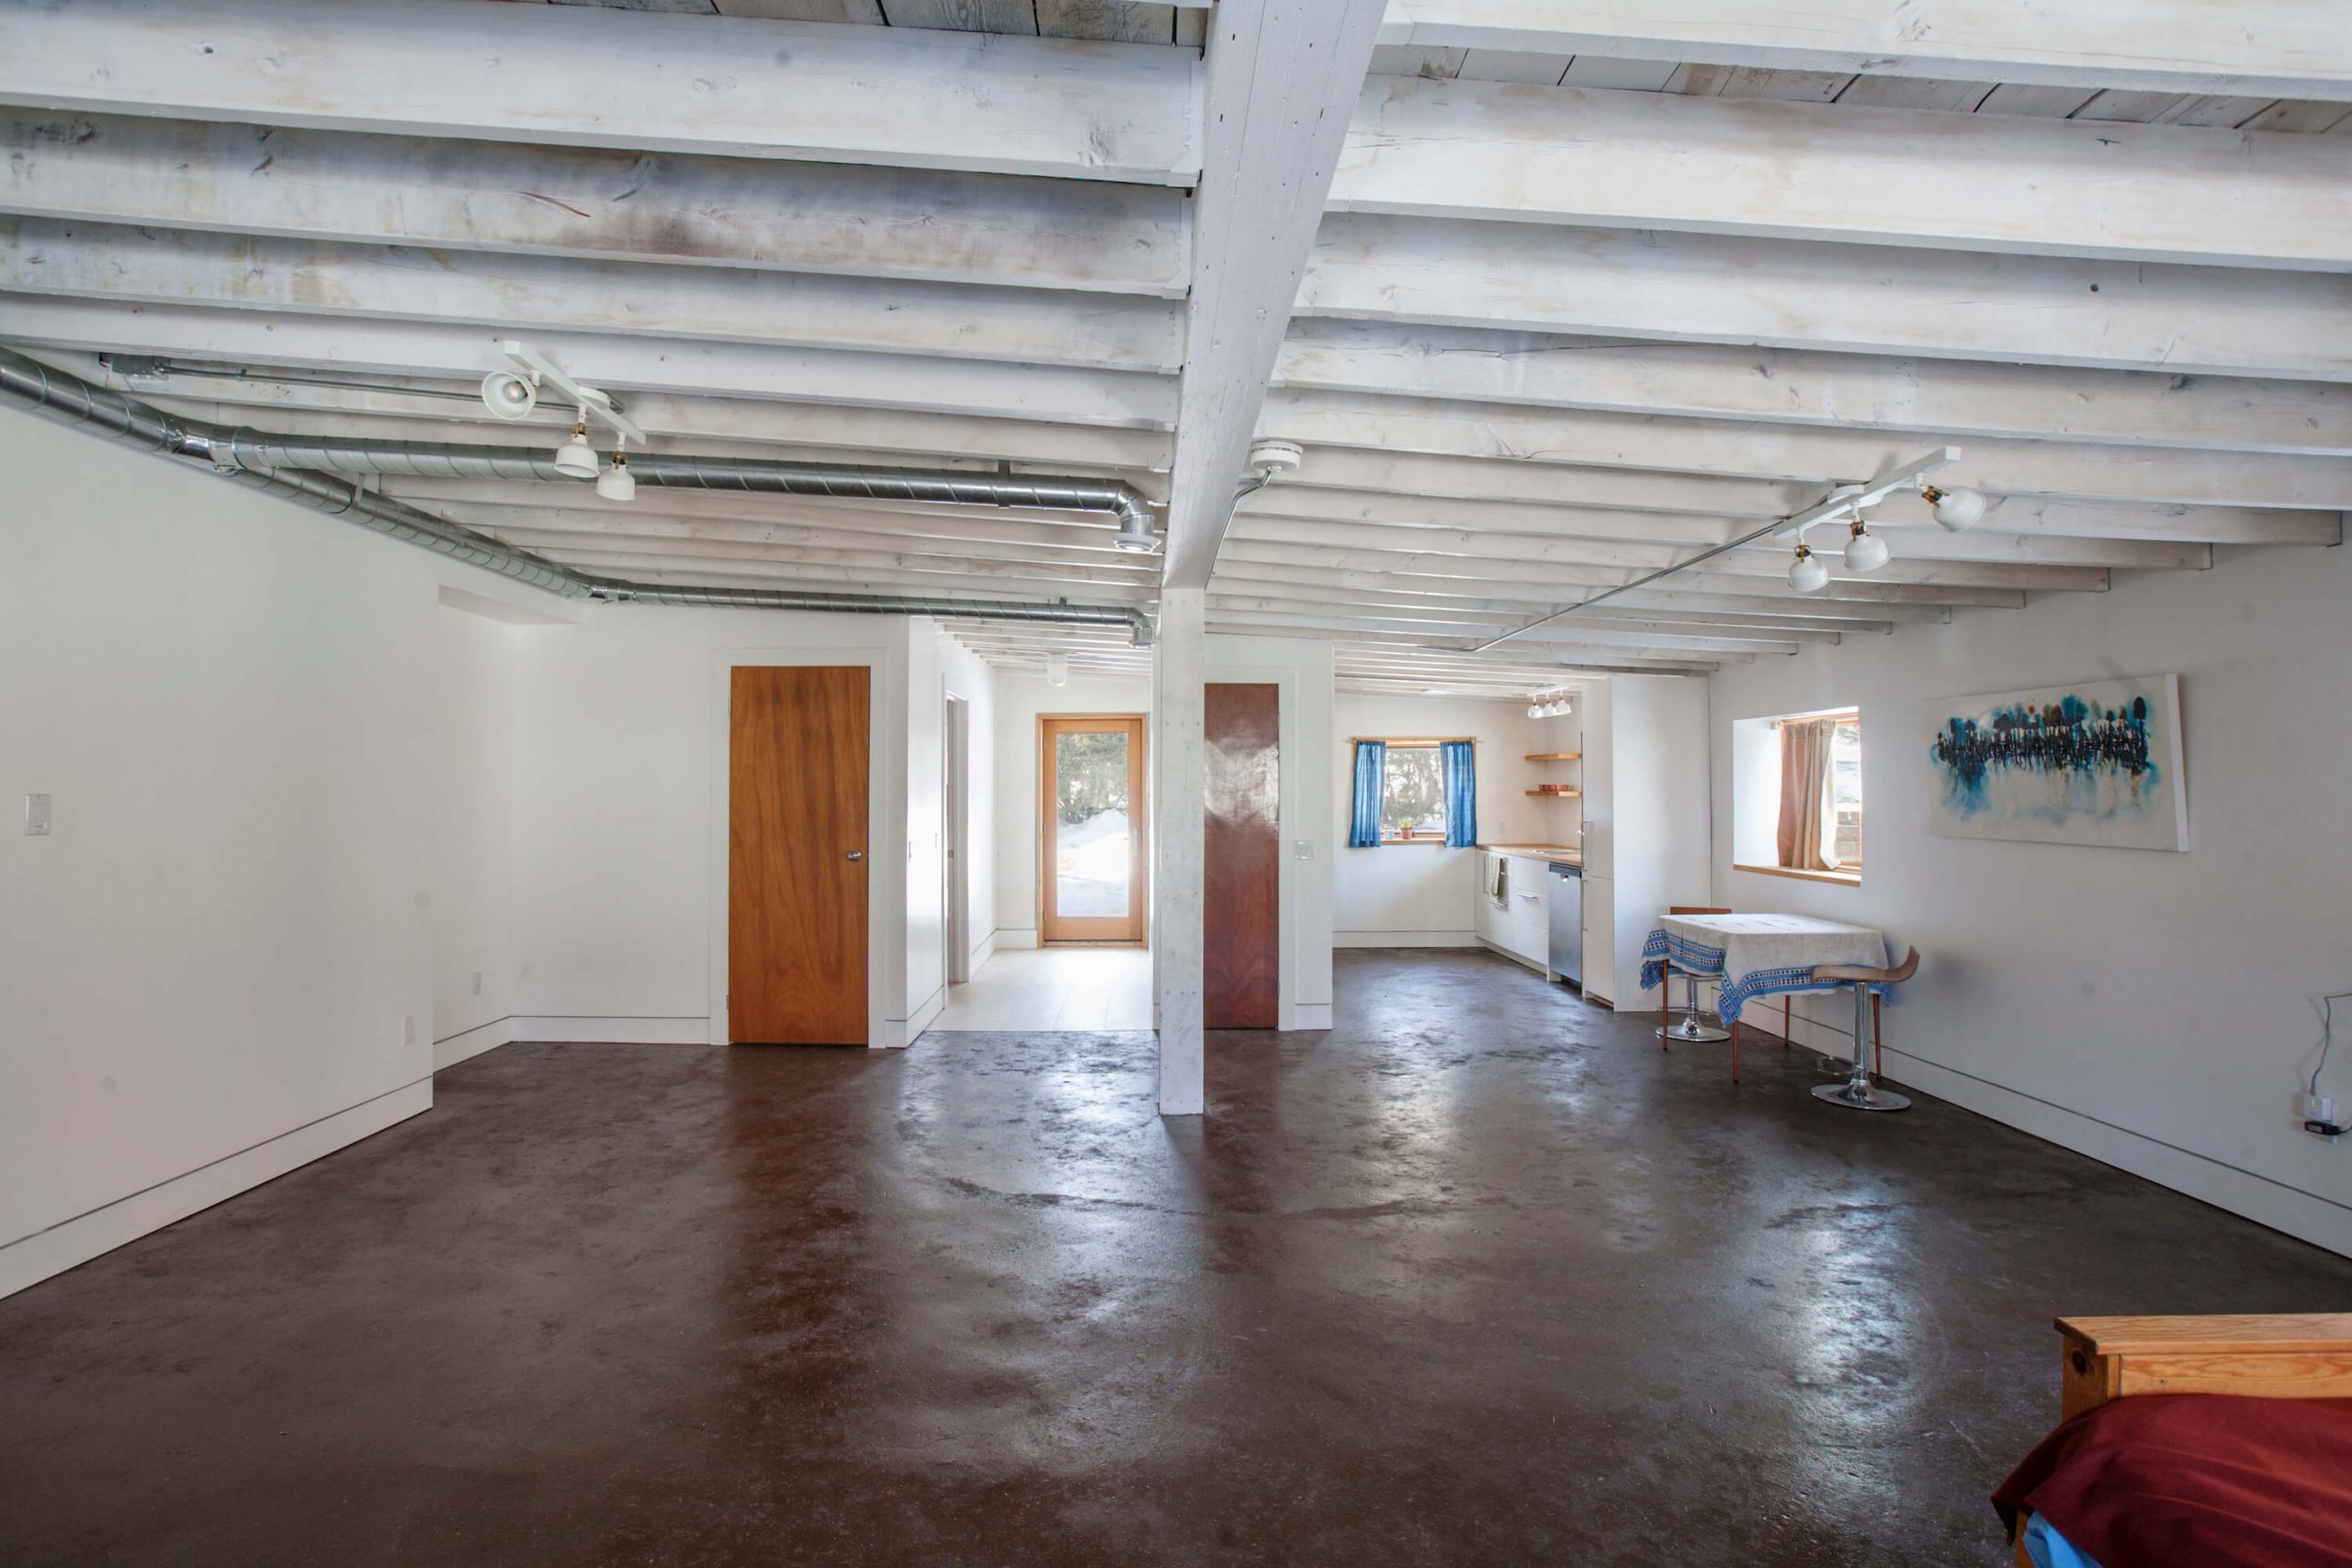
In 2018, we undertook an urban renovation project in downtown Peterborough, Ontario. The city had just adjusted its by-laws to allow for secondary suites on residential properties. Our client had an empty, 100 year old garage attached to her home and wanted to...

Nov 13, 2015 | Natural building materials and techniques, Natural plaster
Questions concerning the durability of clay plaster – especially as an exterior plaster, and even more especially in cold and wet northern climates – get raised any time we suggest using clay plaster to a client. We recently had the experience of returning...

Jul 30, 2015 | Building Product Reviews
At Endeavour, we are kind of obsessed with finding good-quality, non-toxic finishes for common household surfaces. Many homes have a lot of wood surfaces, and it can be particularly difficult to find non-toxic finishes for wood. Allback is a Swedish company that...
Jul 30, 2015 | Building Product Reviews, Earth floors, Natural building materials and techniques, Recipes
Take one step – especially with bare feet – on an earthen floor and chances are you will be sold on the idea. You will want an earthen floor of your own. And not only will you be making happy feet when you choose an earthen floor, you’ll be making...

May 18, 2015 | Building Product Reviews, Natural building materials and techniques, Thoughts on Building
There is no easier or better place to shift away from toxic petrochemicals and move to using natural, non-toxic options than with the paint we put on our walls. Anybody Can (and Should) Do ThisWe hear from many people who wish they could build a home with natural...