
Jul 8, 2019 | Construction Blogs, Featured, Geneva Park cabin, Sustainable Building & Design program
Endeavour’s Sustainable New Construction program for 2019 is working with Geneva Park, a YMCA camp, to help them create Canada’s greenest cottage community. The camp’s plan is to replace the dozens of old cottages on the site with new cabins that...

Jul 7, 2019 | Construction Blogs, Featured, Sustainable Building & Design program, Urban Renovation accessory dwelling unit
In 2018, we undertook an urban renovation project in downtown Peterborough, Ontario. The city had just adjusted its by-laws to allow for secondary suites on residential properties. Our client had an empty, 100 year old garage attached to her home and wanted to...

Jan 9, 2019 | Construction Blogs, Embodied Carbon, Straw bale building, Sustainable Building & Design program, Zero House prefab
Zero House was Endeavour’s most ambitious project. Designed by students and faculty of the Architectural Science program at Ryerson University, Endeavour undertook the transformation of the design into a fully modular, prefabricated building that would be zero...

Dec 11, 2018 | Embodied Carbon, Thoughts on Building
Endeavour Centre is committed to helping reverse climate change by creating buildings that are carbon capture and storage devices. Our buildings store more carbon in their materials than was emitted in making the materials… climate positive building. Add this to...
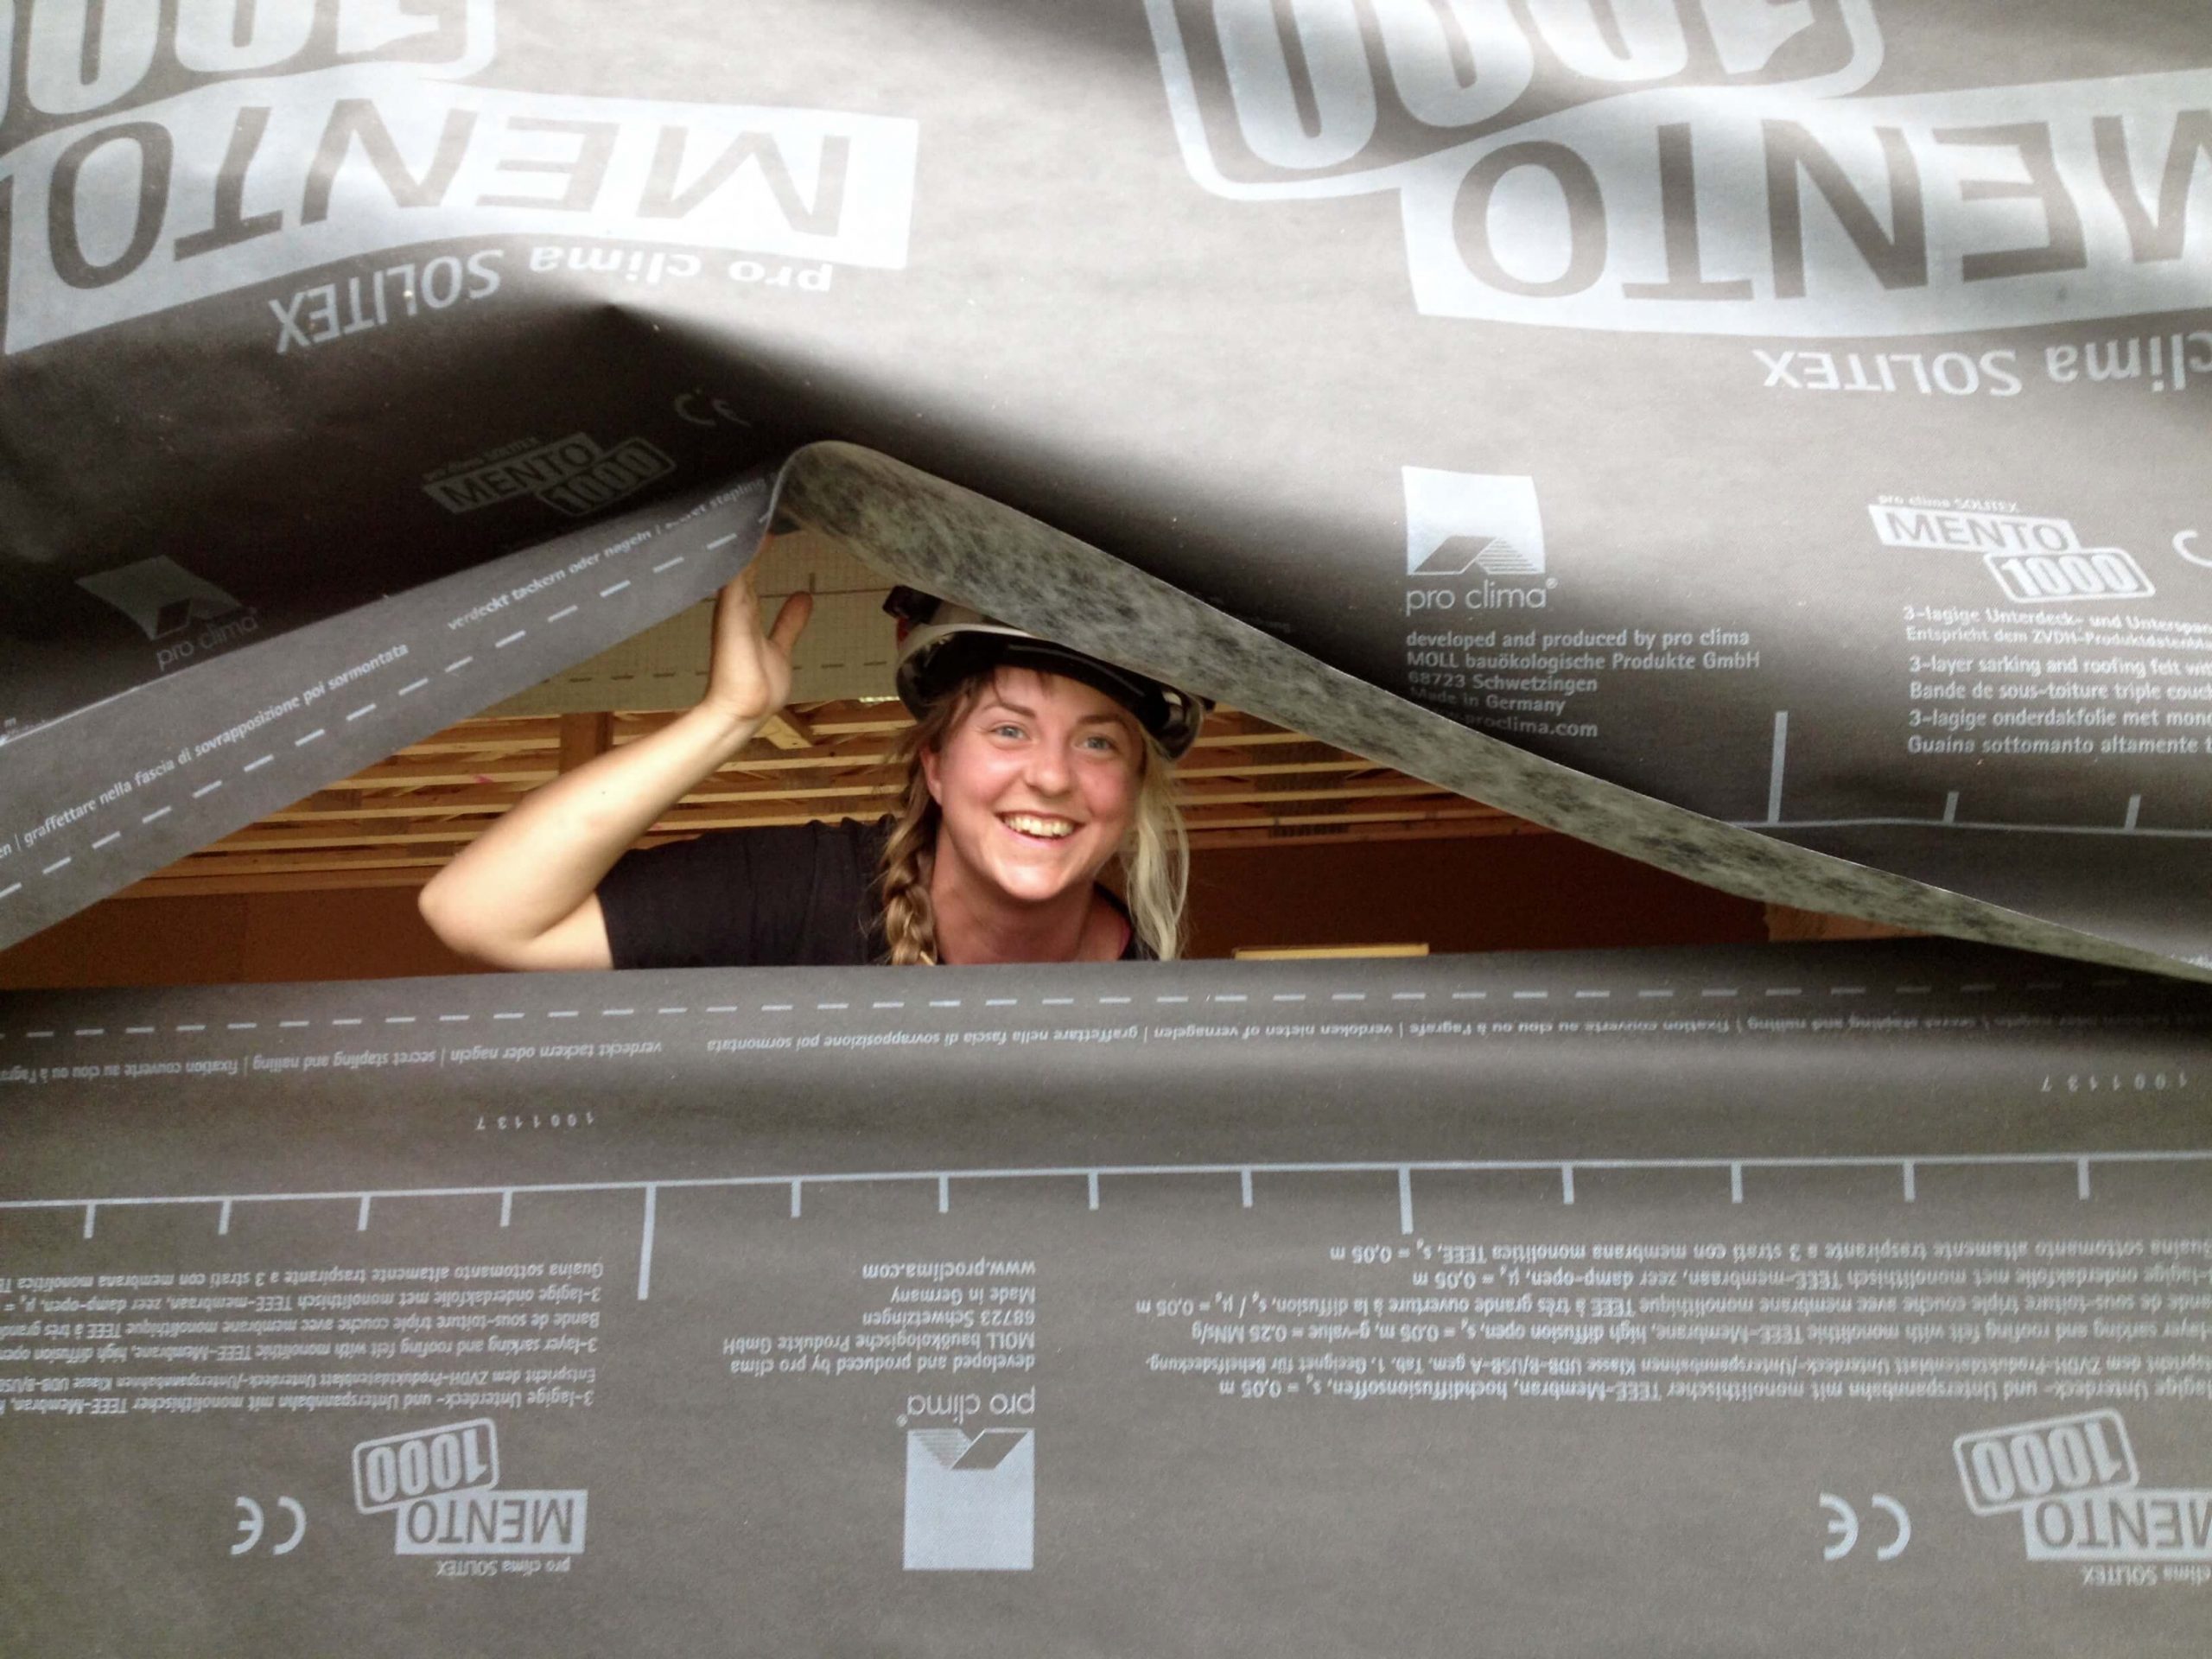
Sep 13, 2017 | Building Product Reviews, Zero House prefab
This is one in a series of blog posts about the materials we’ve chosen to build our Zero House project… What is 475 High Performance Building Supply? 475 High Performance Building Supply provides essential building knowledge and components to...